The Short Answer: To put it simply, a vacuum pump removes gas molecules from a sealed volume to leave behind a partial vacuum. It is an essential device used in numerous industrial and scientific processes, including creating electric bulbs, manufacturing electronic components, pharmaceutical manufacturing, vacuum-forming plastics, and much more.
Are you curious about exactly what a vacuum pump does? You’ve likely come across vacuum pumps, but understanding how they function may seem complex. However, it doesn’t have to be. While vacuum pumps have applications in daily life, like bleeding brakes, their real standout role is in their various industrial applications.
Understanding Vacuum Pumps
To genuinely understand how vacuum pumps function, we need to look at them more closely, explore their different types, and comprehend the basic principles behind their operation. Let’s get started.
What is a Vacuum Pump?
At its simplest, a vacuum pump creates a “vacuum”. They do this by removing air molecules out of a sealed volume, leading to fewer air molecules and, thus, a partial vacuum. This process of creating a vacuum essentially revolves around eliminating air, and that’s what a vacuum pump is here for.
Types of Vacuum Pumps
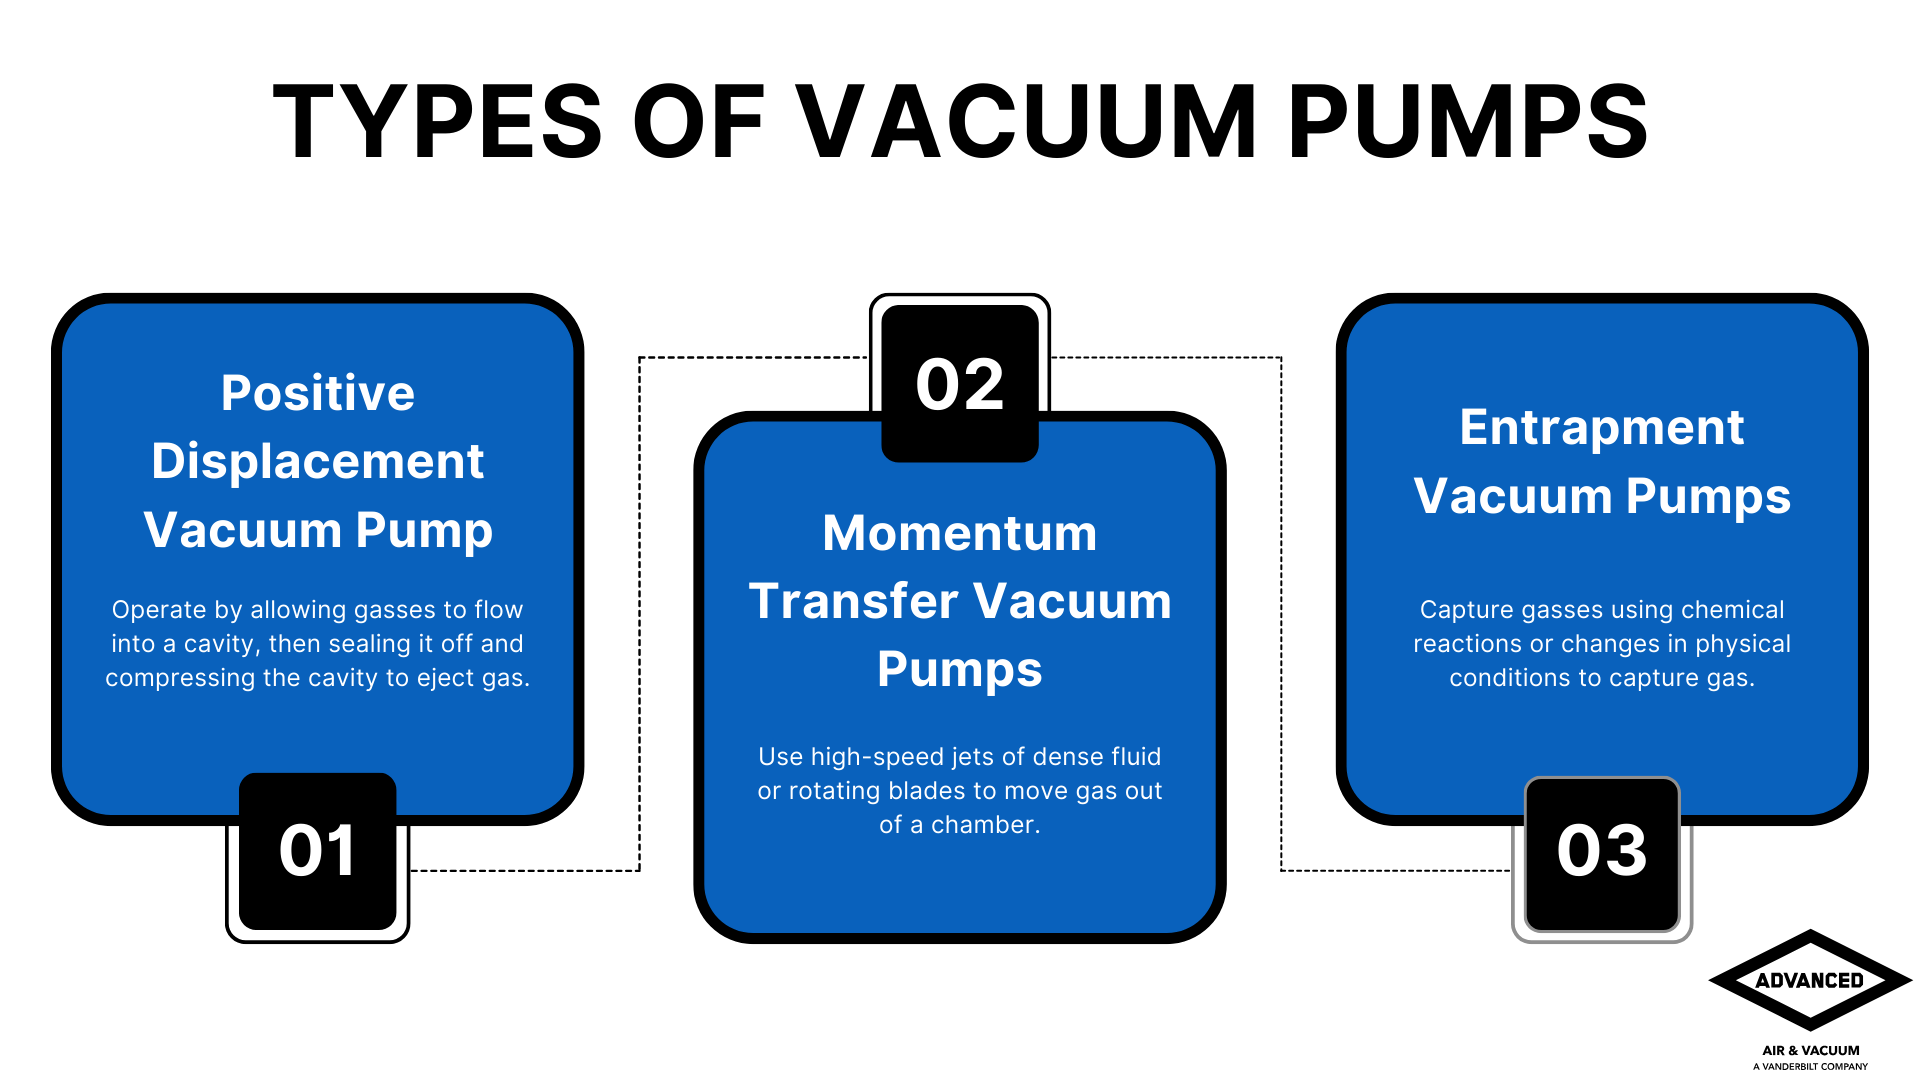
Vacuum pumps can be categorized into three primary types based on their working principles: Positive Displacement Pumps, Momentum Transfer Pumps, and Entrapment Pumps. Each type is suited for different vacuum levels and applications.
- Positive Displacement Pumps
- Rotary Vane Pumps: Use rotating vanes to compress and expel gas, ideal for rough vacuum applications.
- Piston Pumps: Utilize a reciprocating piston to create a vacuum by compressing gas.
- Momentum Transfer Pumps
- Turbo Pumps: Use high-speed rotating impellers to move gas molecules and achieve high vacuum levels.
- Diffusion Pumps: Create a molecular flow to transfer gas molecules, suitable for high vacuums.
- Entrapment Pumps
- Cryogenic Pumps: Trap gas molecules by condensing them at extremely low temperatures.
- Getter Pumps: Capture gas molecules through chemical reactions for ultra-high vacuum applications.
The Concept Behind a Vacuum
The working principle of any vac pump relies on understanding the concept of atmospheric pressure – or pressure exerted by the weight of air in the atmosphere. When a vacuum pump decreases this pressure within a confined space, it creates a partial vacuum. The pressure difference formed comes into play for numerous industrial processes. It is also important to understand the notion of vapor pressure – or the pressure at which a vapor coexists with its liquid (or solid) form in a state of equilibrium. It determines the extent of the vacuum that a pump can create.
How Vacuum Pumps Work
After understanding what a vacuum pump is and the different varieties available, it’s time to look under the hood. By discussing how a vacuum pump operates, we can further appreciate this remarkable device.
The Essential Components
Every vacuum pump boasts several key components critical to its operation. These include:
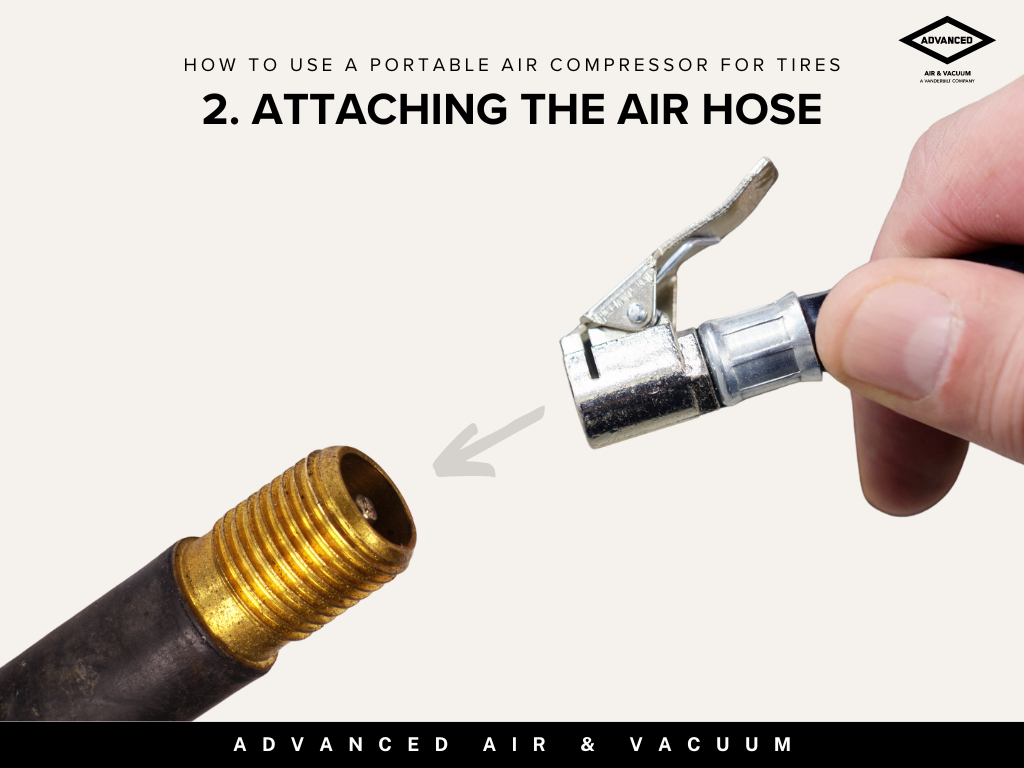
- Vacuum Hose: This component connects the vacuum pump to the system where the vacuum is applied, ensuring that the vacuum is directed to the appropriate location.
- Vacuum Line: The vacuum line serves as the pathway, channeling the air or gas out of the system to create and maintain the vacuum.
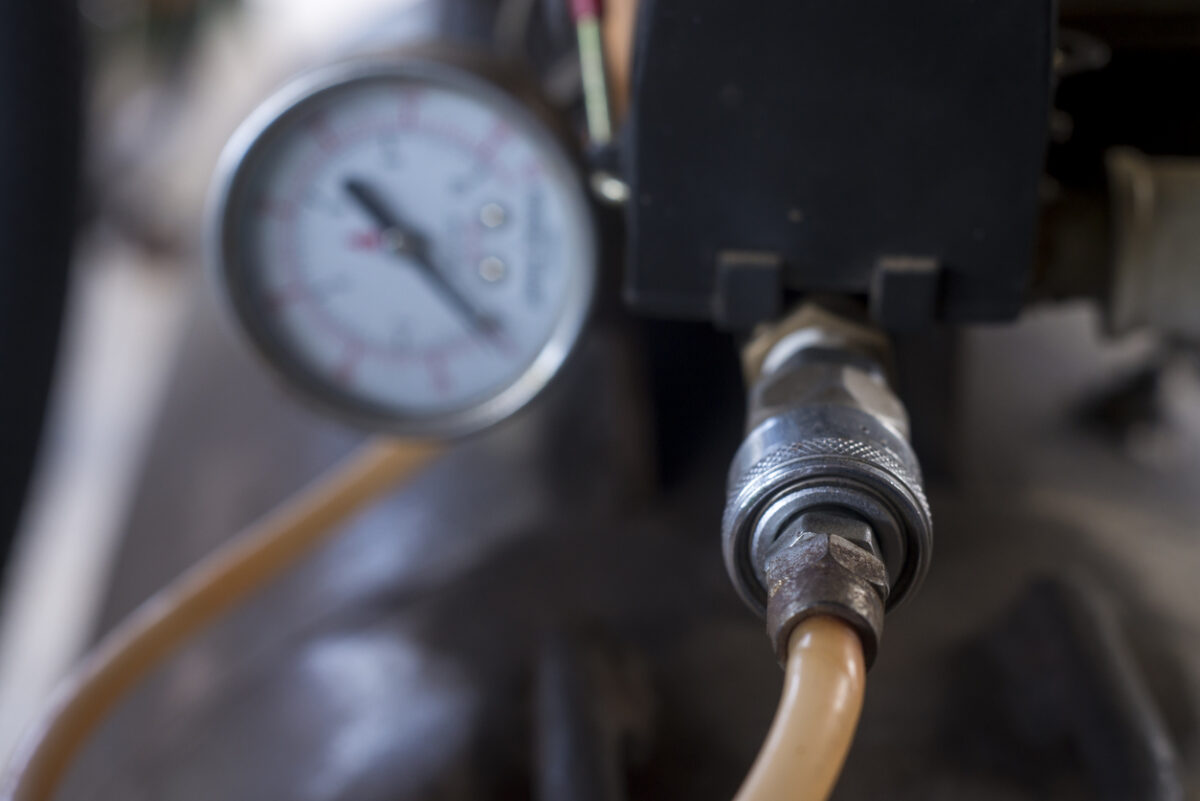
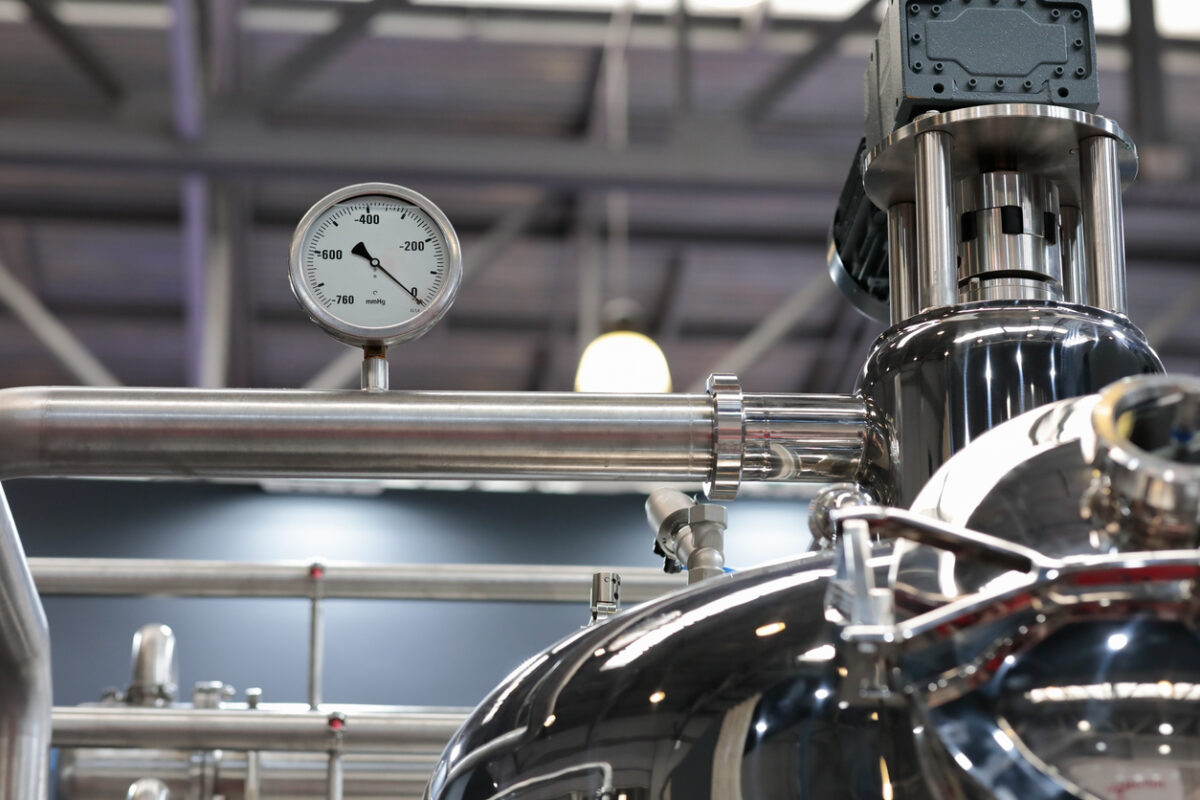
- Vacuum Gauge: An essential tool in any vacuum system, the vacuum gauge monitors the pressure within the system to ensure it operates at the desired vacuum level.
- Inlet Port: This is where air or gas enters the vacuum pump. It plays a critical role in ensuring the pump can service multiple operations by connecting various vacuum lines.
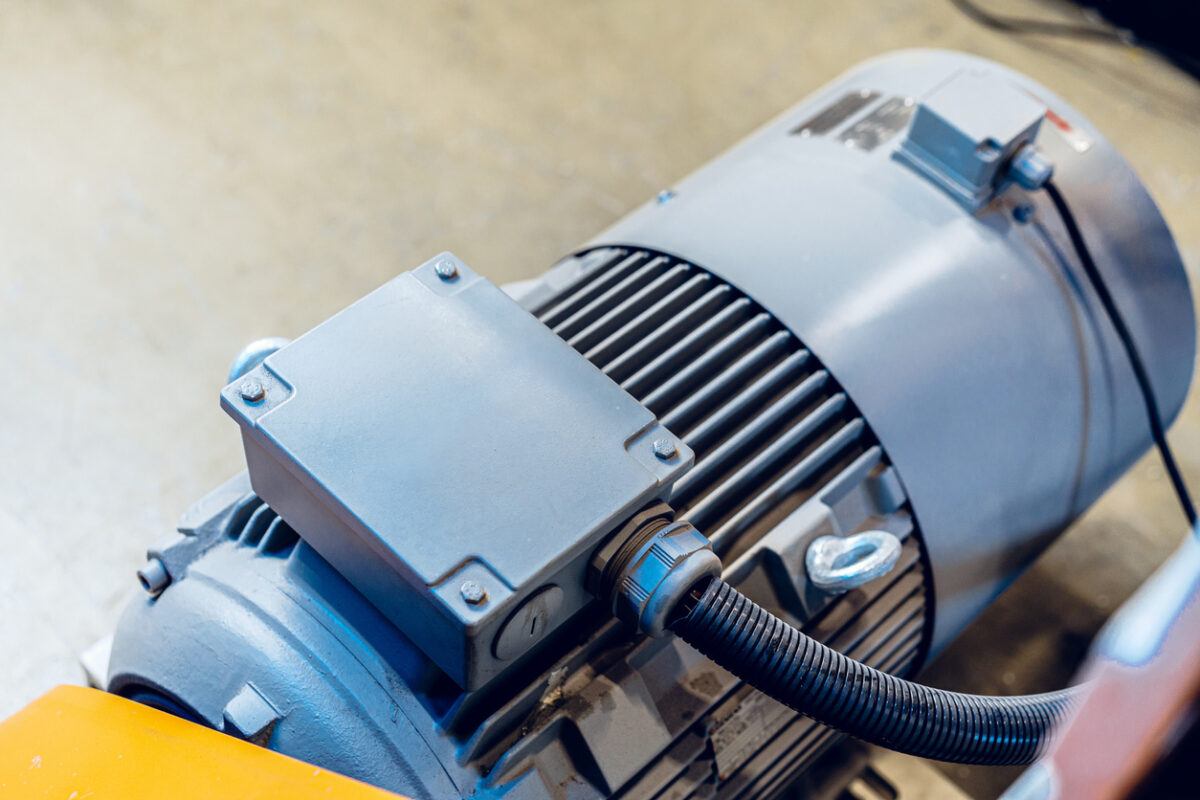
- Pump Casing: The pump casing protects the internal components from contamination and external damage, ensuring the pump’s longevity and efficient operation.
- Vacuum Chamber: The vacuum chamber refers to the enclosed space where the vacuum is created. This chamber can vary in size and configuration depending on the pump’s design and its intended application.
- Vacuum System: This term refers to the complete setup, including the pump, hoses, lines, gauges, and other components that work together to create and sustain the vacuum.
By working together, these components ensure the vacuum pump performs optimally for various industrial, scientific, and commercial applications.
The Working Principle
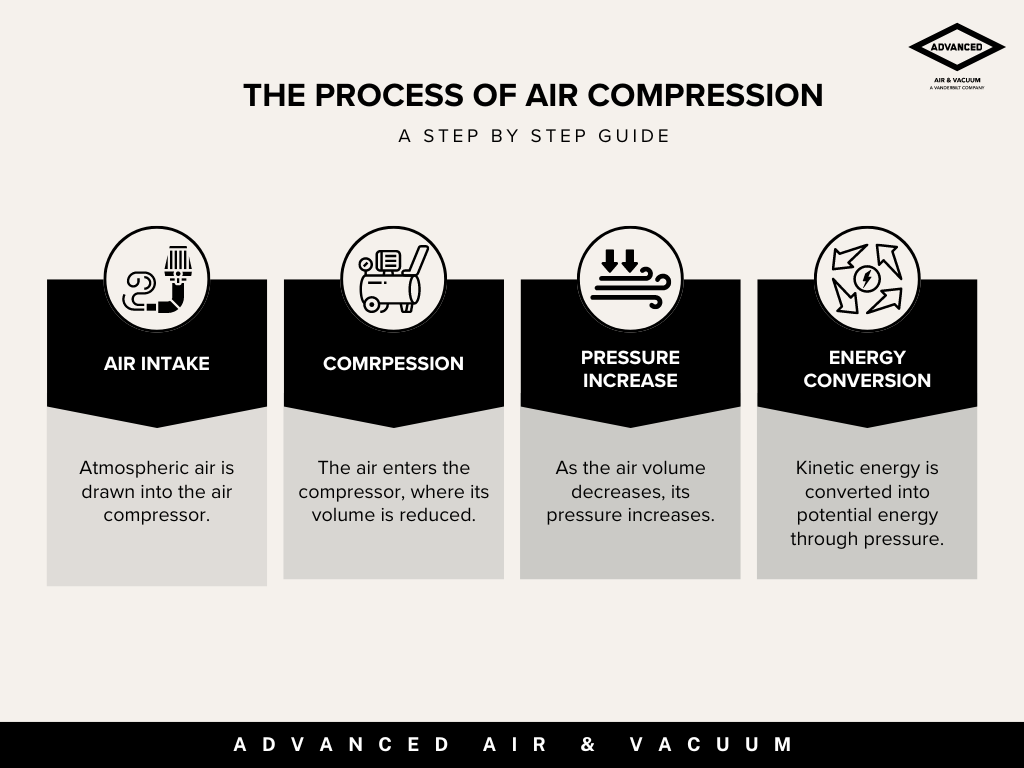
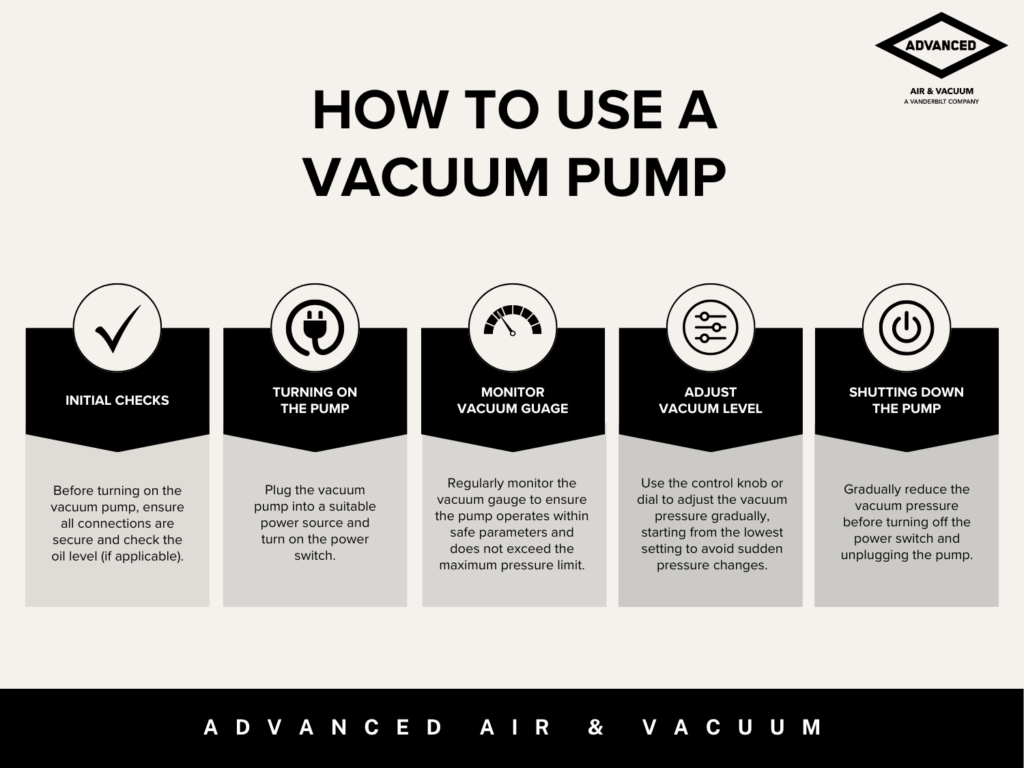
A vacuum pump operates by reducing the air pressure inside a confined space or system, creating a vacuum. Here’s a brief explanation of how it works:
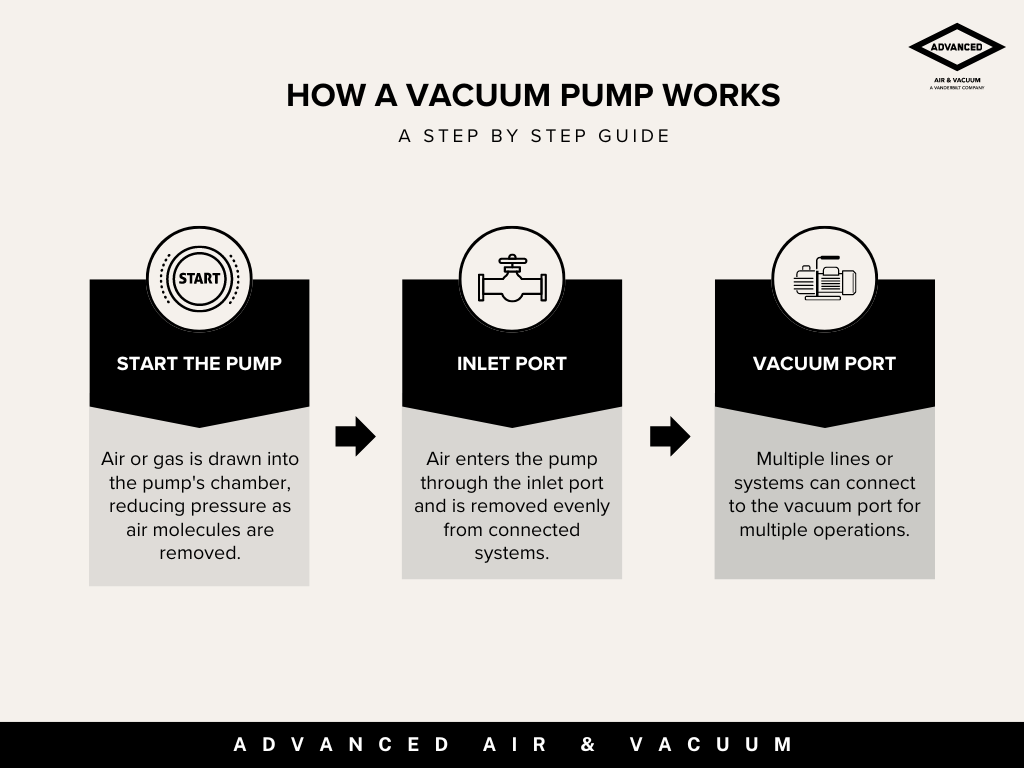
Step 1: When the pump is switched on, air or gas is drawn out from the system into the pump’s chamber. The pump lowers the pressure inside the chamber by continuously removing air molecules. As the air or gas is expelled, the vacuum gauge monitors the pressure drop in the system, ensuring the vacuum reaches the desired level.
Step 2: The inlet port serves as the entry point for air or gas into the pump. The pump is designed to evenly remove air from the connected vacuum lines or systems. These lines are connected securely to maintain the vacuum and prevent leakage.
Step 3: The vacuum port allows for multiple lines or systems to be connected to the vacuum pump, enabling the pump to service different applications simultaneously if necessary.

Applications of Vacuum Pumps
Vacuum pumps are used in a wide range of industries, with applications that vary depending on the specific needs of each sector. Below are some of the most common uses of vacuum pumps in industrial settings:
Food and Beverage Industry
Vacuum pumps play a vital role in maintaining product quality and consistency for the food & beverage industry. For example, in wineries, vacuum pumps are used during the bottling process to reduce oxygen exposure, which helps preserve the wine’s quality. Similarly, in dairy processing, vacuum pumps are used to transfer milk between different stages of production without contamination, ensuring a safe and efficient process.
Packaging Industry
In packaging, vacuum pumps are employed to remove air from packaging bags, which extends the shelf life of products by minimizing oxygen exposure and reducing the risk of spoilage. This process, commonly used in vacuum-sealed food packaging, also reduces the volume of the packaging, allowing more products to be shipped efficiently.
Pharmaceutical Industry
Vacuum pumps are critical in the pharmaceutical manufacturing process. They are used in drying processes, such as lyophilization (freeze drying), where moisture is removed from drugs or other products to ensure stability and longevity. Vacuum pumps also play a role in creating sterile environments during production.
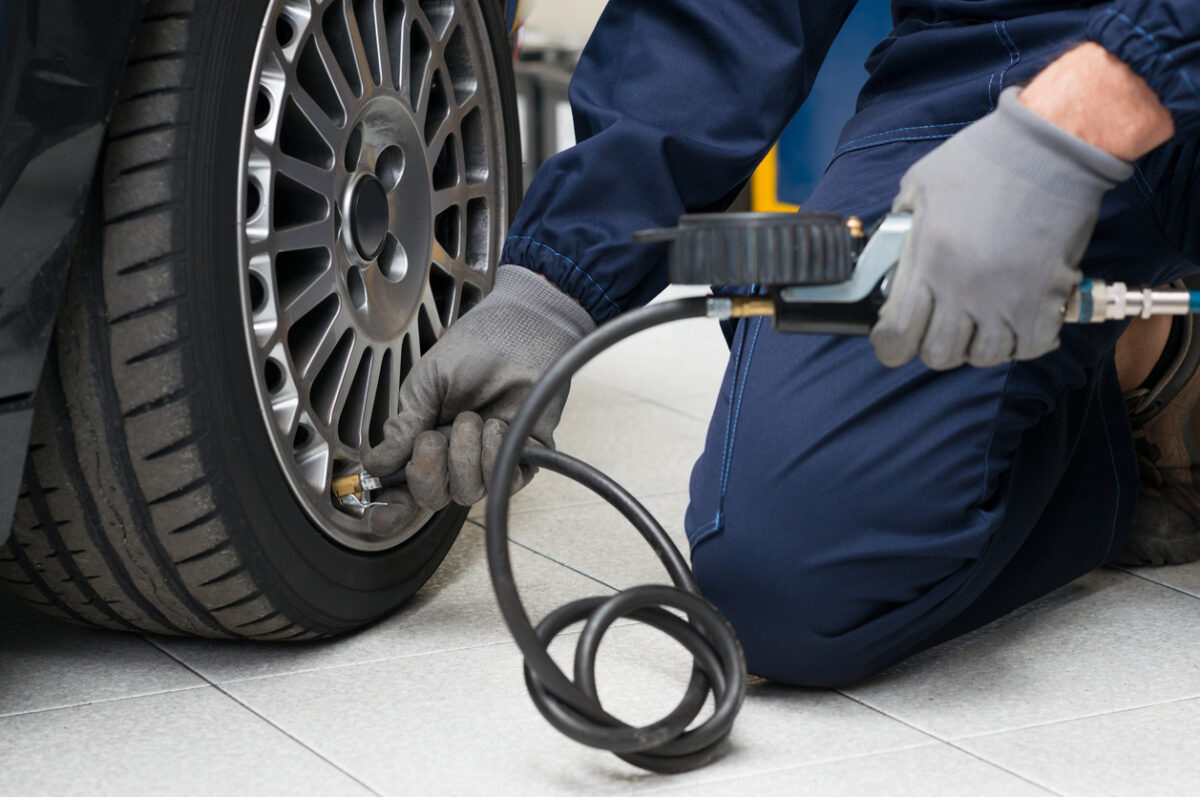
Automotive Industry
In the automotive sector, vacuum pumps are used to enhance vehicle performance. They are integral to the operation of power brake systems, assisting in the functioning of brake boosters, which in turn improves braking efficiency. Vacuum pumps are also employed in other automotive systems, such as turbochargers and emissions controls.
Vacuum pumps serve essential functions in these industries, helping to ensure product quality, safety, and performance. Choosing the correct type of vacuum pump for each application is crucial to meeting industry-specific requirements and achieving optimal results.
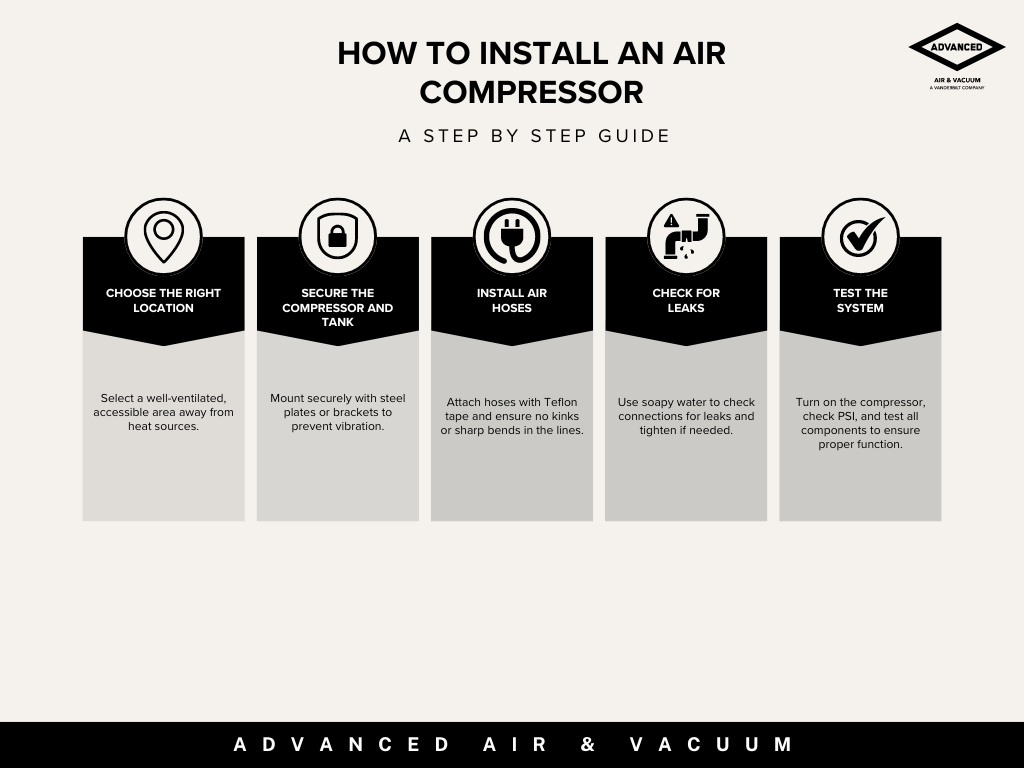
How Advanced Air & Vacuum Can Help
Now that you have a thorough understanding of what vacuum pumps do, finding the perfect pump that suits your needs can make a world of difference. That’s where Advanced Air & Vacuum comes in.
Advanced Air & Vacuum stocks a wide array of vacuum pumps, serving nearly every recognizable air compressor and vacuum pump manufacturer. Whether you’re replacing an old pump with a new pump, or just require a small repair, turning to Advanced Air & Vacuum for your needs ensures optimum performance from your machinery. Our team includes local engineers, plant managers, and maintenance personnel who work hand in hand with you to guarantee the right equipment is selected for every job.
At Advanced Air & Vacuum, we’re committed to delivering top-quality equipment, unparalleled customer service, and a wealth of industry expertise. We understand the intricacies of the equipment and ensure they are performing at their best. Take the first step toward efficiency and quality by contacting us today!